Many businesses need a way for customers to contact them, and a request form is one of the best ways to do it. However, by default WordPress does not have this feature, but this is easily resolved by using a plugin.
Luckily, I have found the perfect plugin for the job, Request Form for Zendesk. It allows you to add forms onto any post or page in WordPress and they are highly customizable. And it will even match your theme automatically.
Today, I will demonstrate how to use the Request Form for Zendesk plugin to add business forms in WordPress.
What Can I Use Request Form for Zendesk For?
This plugin is intended to help websites set up a method of contacting you or your staff. As a result, it can be used for a variety of purposes.
For instance, you can add Zendesk ticket forms so that customers can send support tickets to your staff. Each form is highly customizable, so you can ensure customers add the necessary information your team needs to solve the problem.
Zendesk contact forms can be used for a variety of other tasks outside of support.
Some businesses use contact forms to receive new requests from customers. For example, many home repair sites will allow customers to list the work they need to be done and the contractor can reply with their quote.
Of course, you could also use them for collecting information about your website. The only limitation is your creativity.
How to Use Request Form for Zendesk
Step 1: Install Request Form for Zendesk
Request Form for Zendesk is a contact form plugin for WordPress. Forms can include various elements like textboxes, number input, URL input, email field, checkboxes, drop-down boxes, date and time box (great for appointments), and more.
The plugin does require users to obtain a Zendesk API key, and there is a 14-day free trial you can use to test it out. However, once the trial runs out, you will need to pay for an account.
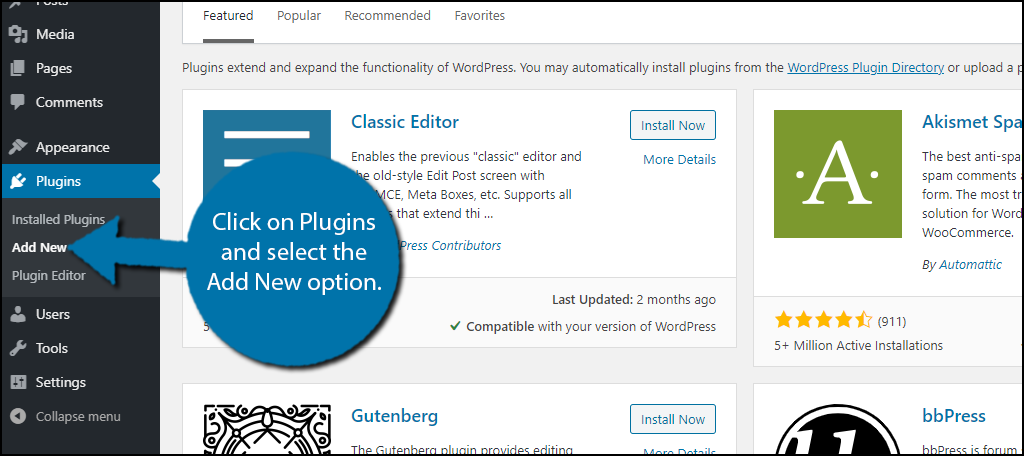
Let’s begin by installing the plugin.
Click on Plugins and select the Add New option on the left-hand admin panel.
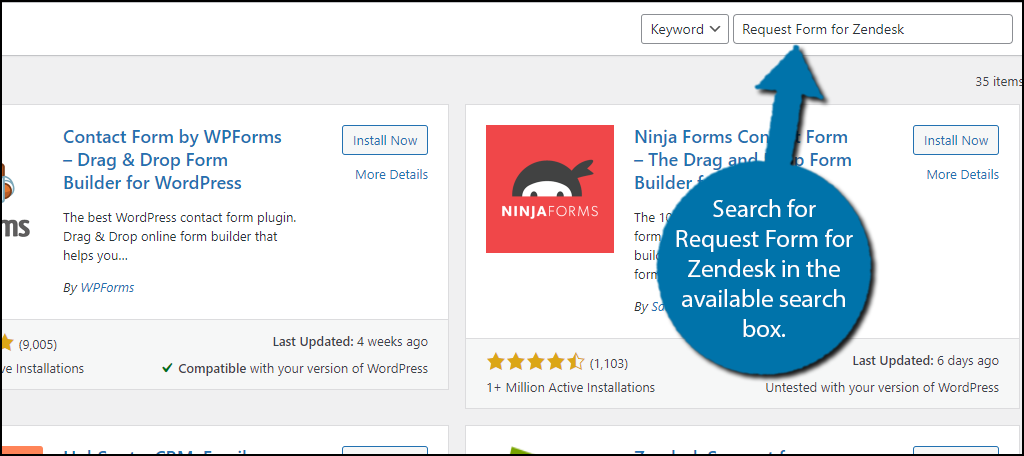
Search for Request Form for Zendesk in the available search box. This will pull up additional plugins that you may find helpful.
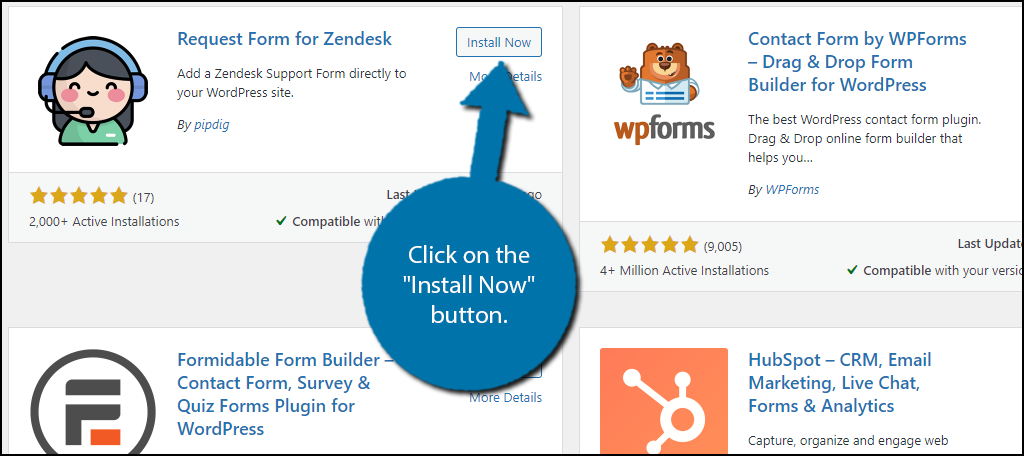
Scroll down until you find the Request Form for Zendesk plugin and click on the “Install Now” button and activate the plugin for use.
Step 2: Obtain API Key
The plugin will not work without a Zendesk API key, which is why we are going to get one right now. All this requires is setting up a free account with Zendesk.
First, visit the Zendesk website and register for the 14-day free trial. You will have to provide an email, phone number, and set up a password. You do not need to enter any credit card information during the sign-up process.
Note: Take note of the subdomain name you create. You will need this later on.
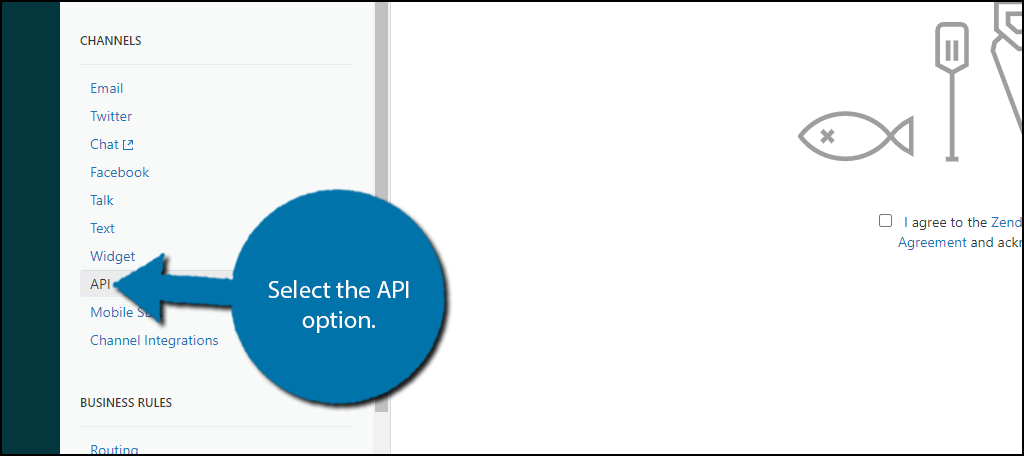
You will then need to verify your email to access your account. Once you are in your account, click on Settings Wheel, locate the Channels section, and select the API option.
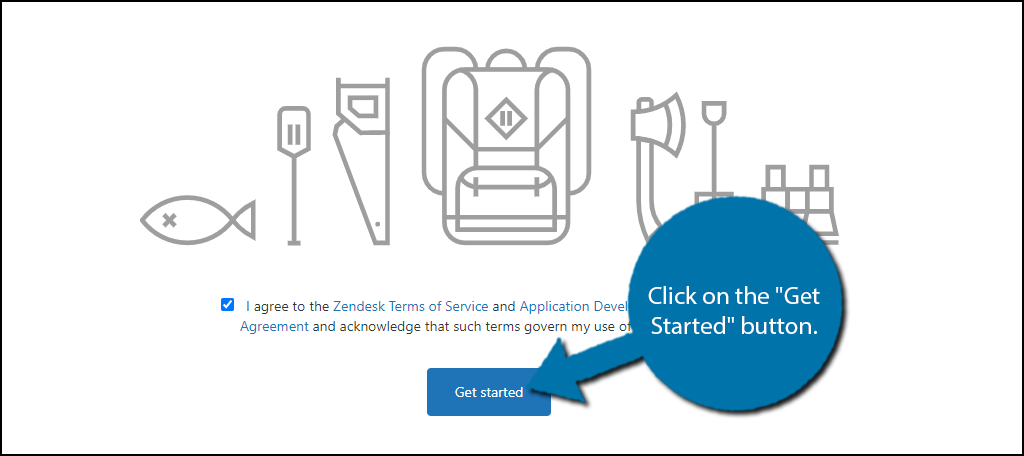
Agree to the terms and conditions by checking the box and click on the “Get Started” button.
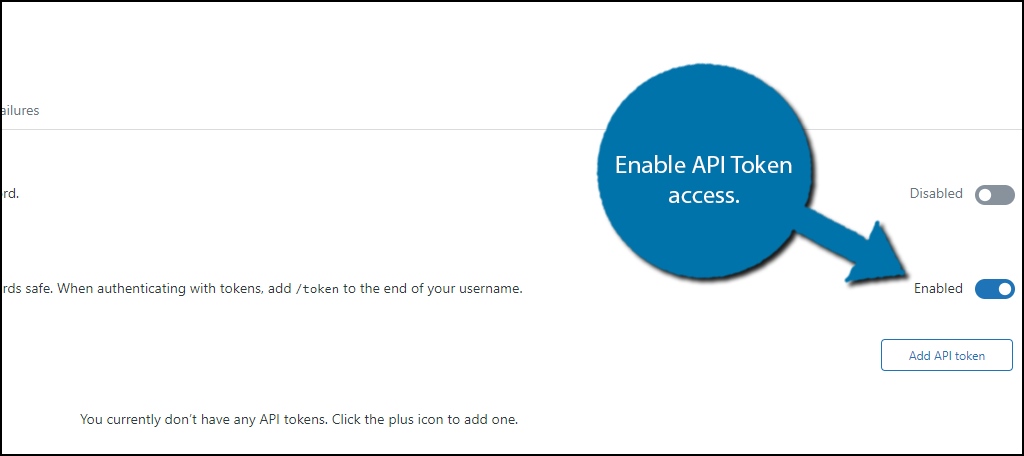
You have two options for API. The first is to allow agents to use their sign-in credentials and the second is to use an API token. It is recommended by Zendesk to use the token to protect agent credentials.
Enable API Token access by using the slider.
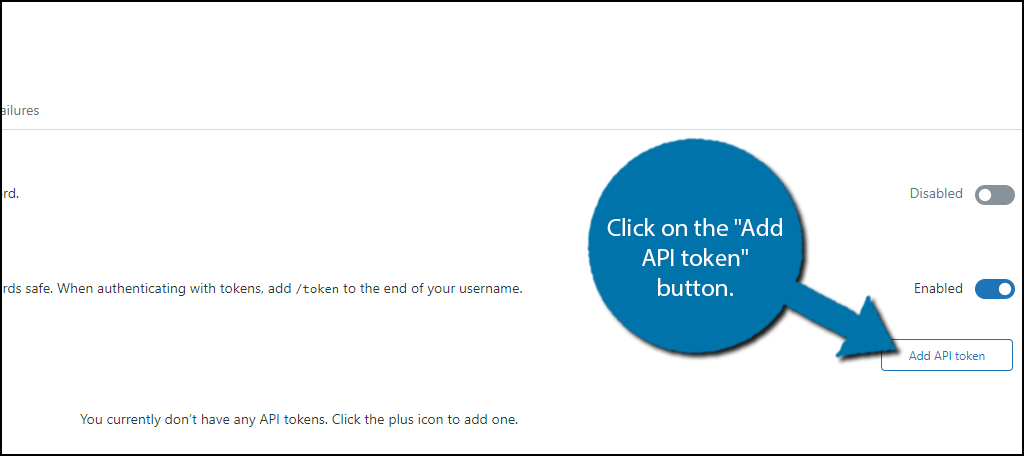
Click on the “Add API token” button.
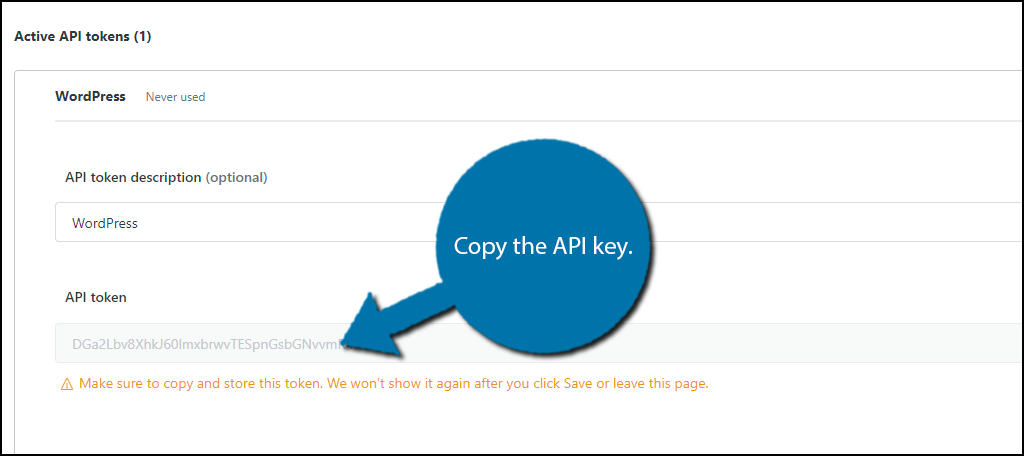
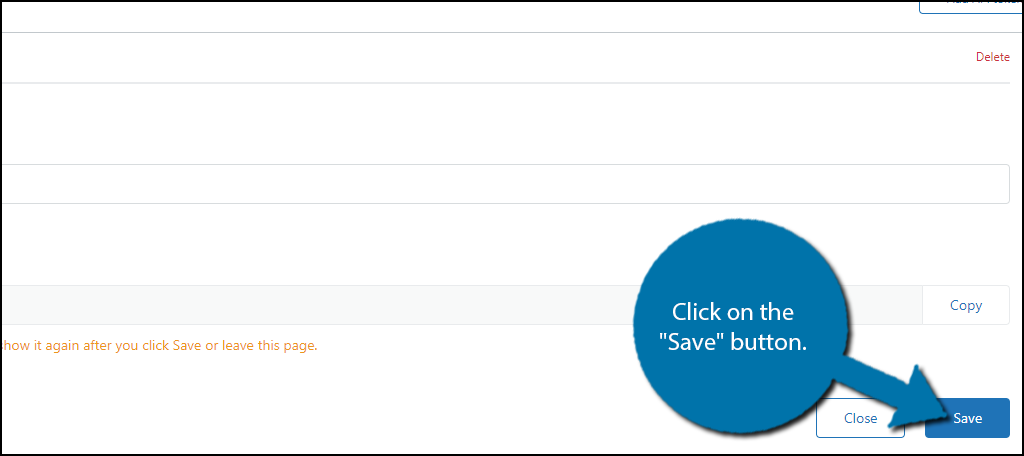
Zendesk will now generate the API key. You can add a short description for the API key, which is helpful if you need multiple keys for different sites. The API Key is located underneath this. Copy the API key.
Note: You must copy the API key before clicking the “Save” button. Once, you click the button, the API key will disappear and you would need to generate a new one.
And finally, click on the “Save” button.
You should take this time to set up your Zendesk account. You will receive all of the information and inquiries the plugin collects from this account, however, that is not necessary for the plugin setup itself. So, you can skip it for now and come back later.
The API key is now ready for use, let’s head back to WordPress.
Step 3: Configure the Plugin
With the API key in hand, it is time to set up the plugin.
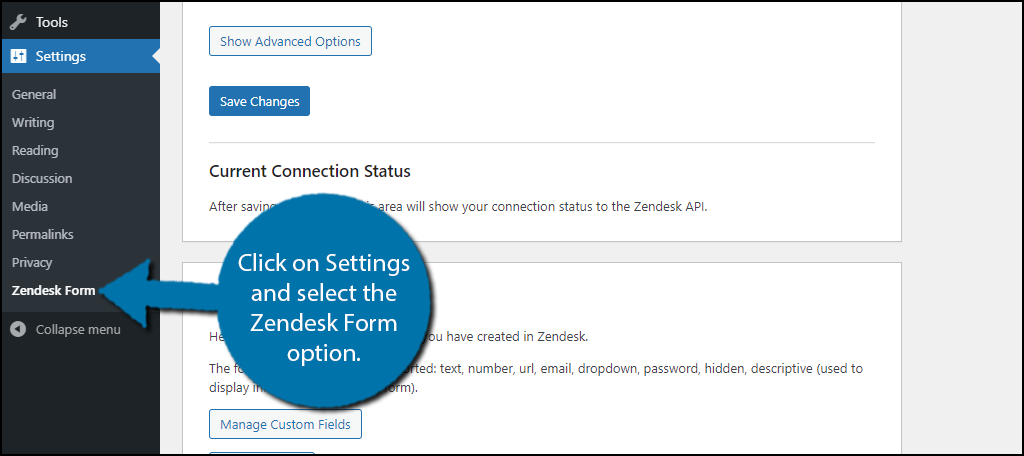
On the left-hand admin panel, click on Settings and select the Zendesk Form option.
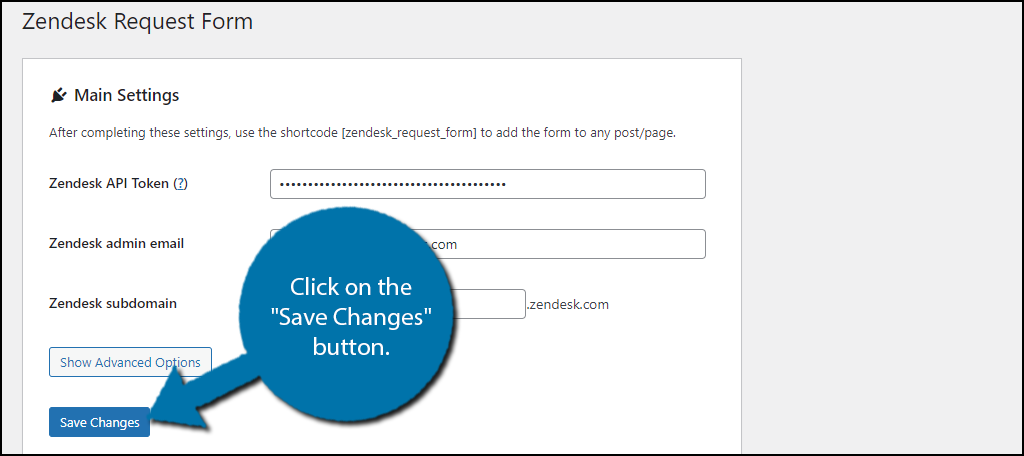
At the top, you will see the Main Settings section. This is where you will enter all of your Zendesk information, which includes the API key, the email address you used during sign-up, and the Zendesk subdomain.
Enter all of the information and click on the “Save Changes” button.
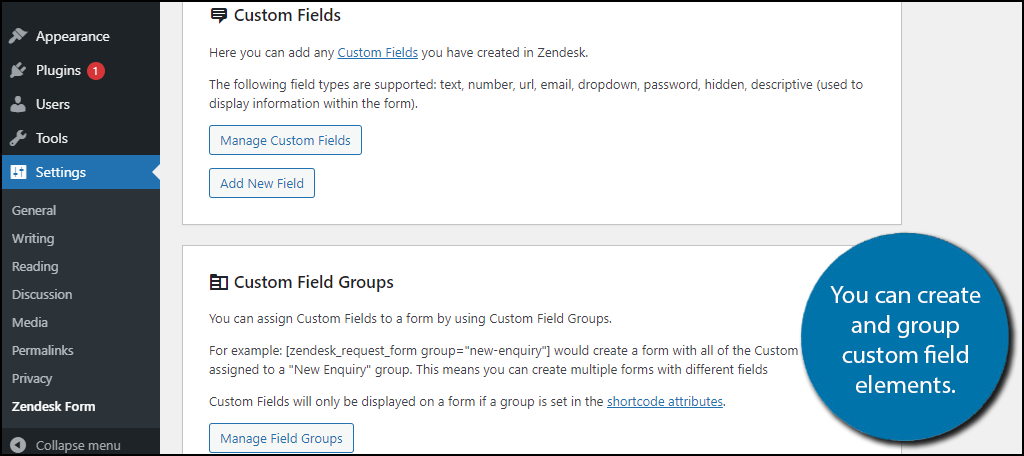
Next is the Custom fields section. This allows you to create unique field options for customers to fill out. You can add a new field, or manage existing ones. And below this segment, you can group the custom fields you make.
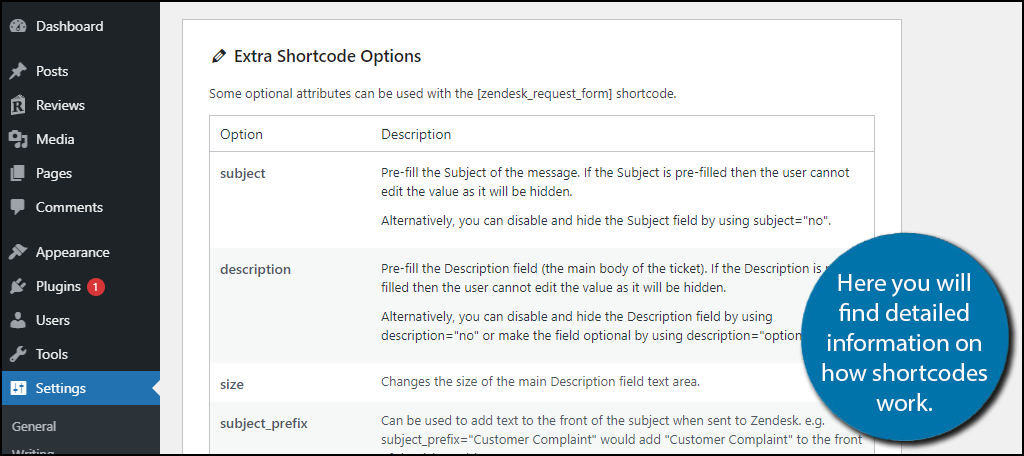
The next two sections contain shortcode information. To add Zendesk forms in WordPress, you will have to enter the correct shortcode parameters. This can be somewhat tricky if you are putting the shortcode together yourself, but that isn’t necessary.
Instead, the plugin provides a Shortcode Generator section. In it, you can edit the elements you wish to add and the shortcode will be generated. If you do not want to use a specific element, leave it blank.
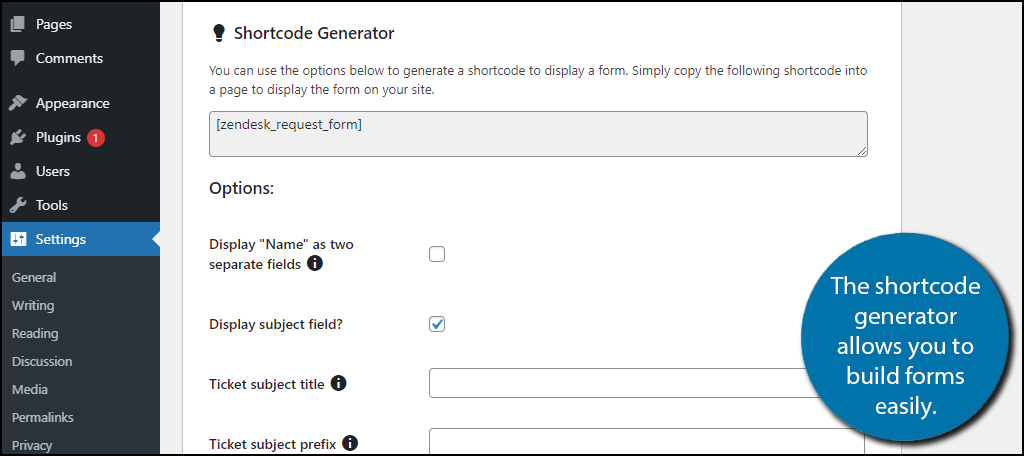
However, the shortcode generator has limitations. Underneath it, you will find a full list of shortcode options with detailed information on how to use each one. Using this will help you build your own Zendesk custom forms.
That concludes the settings of the plugin.
Step 4: Display the Request Form
All that is left is to copy the shortcode from the generator or to build your own and paste it on a page or post.
Go to any existing post or page that you wish to display the form on and add the shortcode via a shortcode block. Alternatively, you can create a new post or page.
It is recommended that businesses have a Contact Us page to help customers find the forms easily.
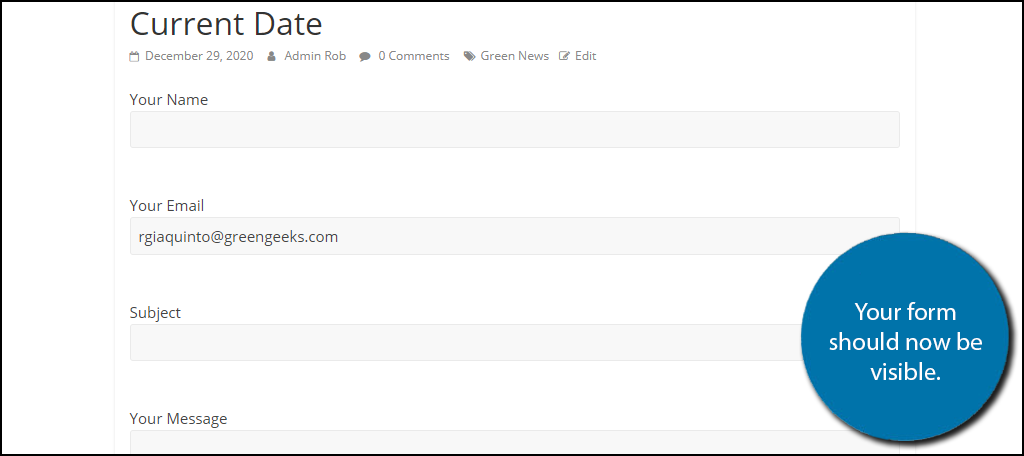
Once you paste the shortcode, you can view the form on the front end of your website.
Congratulations on setting up the Request Form for Zendesk plugin. Remember that once the trial runs out, you will need to purchase a Zendesk account to continue using it.
Make A Contact Us Page
Just about every website has a Contact Us page, and I’m not just talking about business pages. Most blogs even have these pages because they allow not just customers to contact them, but also potential partners and collaborators.
Having a professional contact form available on this page is a great choice. It shows all potential contacts that you are serious about their inquiries. And trust me, that makes a very big difference in some cases.
How easy did you find the Request Form for Zendesk plugin to use? Do you think WordPress should have a built-in contact form block?