No matter what kind of WordPress website you operate today, images play a critical role. They can enhance your written content, give customers an idea of what the product they are purchasing looks like, or show off your past work.
As such, every website will have images to show off to users. Obviously, these images do need to be stored somewhere. This is located in the uploads folder and there are several ways to access it.
It is worth noting that you can manage images without ever accessing this folder by accessing the media library. Here, you can upload, delete, or edit the images on your website. But sometimes, you may be forced to use another method.
Today, I will demonstrate how to locate the stored images in WordPress.
Where Does WordPress Store Images?
If you’re just starting out in WordPress, I would expect you to say that images are stored in the media library. And while this is how you access them on your website, it is not where they are stored.
In reality, WordPress will organize media into folders in your hosting directory. In this case, you would find images in /wp-content/uploads/. All of your images are further organized into year and month.
For example, if you uploaded an image on January 2024, the WordPress media folder location would be:
/wp-content/uploads/2024/01
In this case, 2024 is the year and 01 is the month.
Of course, it is important to also understand that WordPress makes multiple copies of the images.
When you upload an image, WordPress automatically makes three copies. These copies correlate to the three image sizes in WordPress: thumbnail, medium, and large. Thus, you should see multiple copies of the same image in different sizes.
How to Access Your WordPress Images
It can be confusing to find your images in your WordPress directory for the first time, so I will show you how to find the files I previously mentioned. There are several ways to go about this, so I will outline several methods.
Method 1: Using the cPanel
The most common method would be accessing files from your hosting account. Using this you can access the cPanel, which is quite simple to do. Start by logging into your web hosting account and accessing the cPanel.
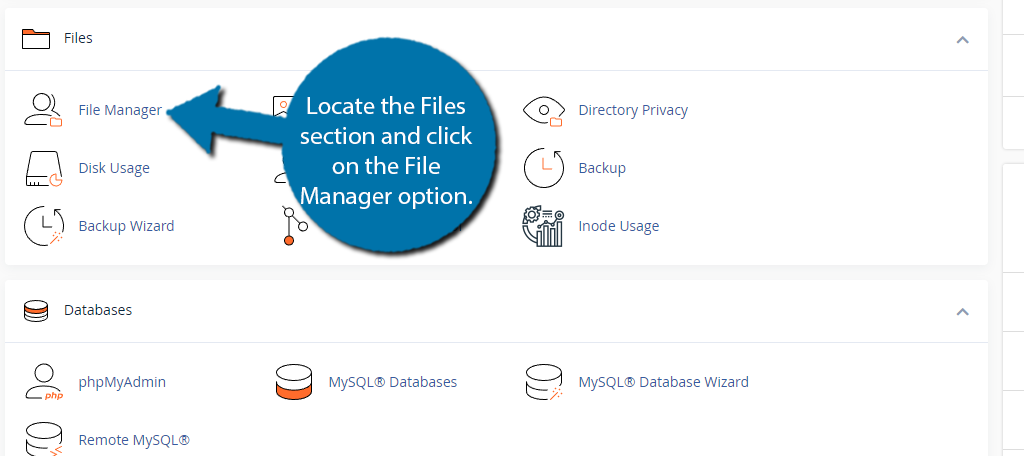
Once there, locate the Files section and click on the File Manager option.
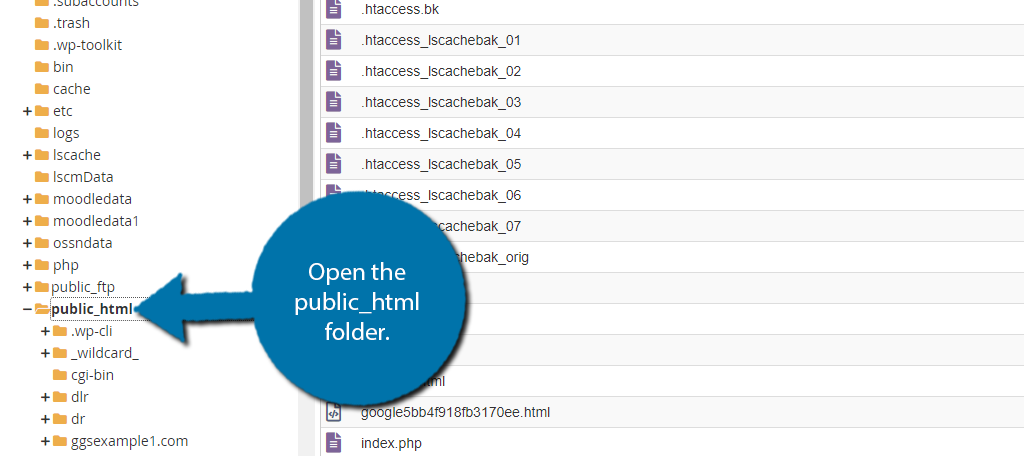
This will give you access to all of the files stored in your hosting environment. Select the public_html folder.
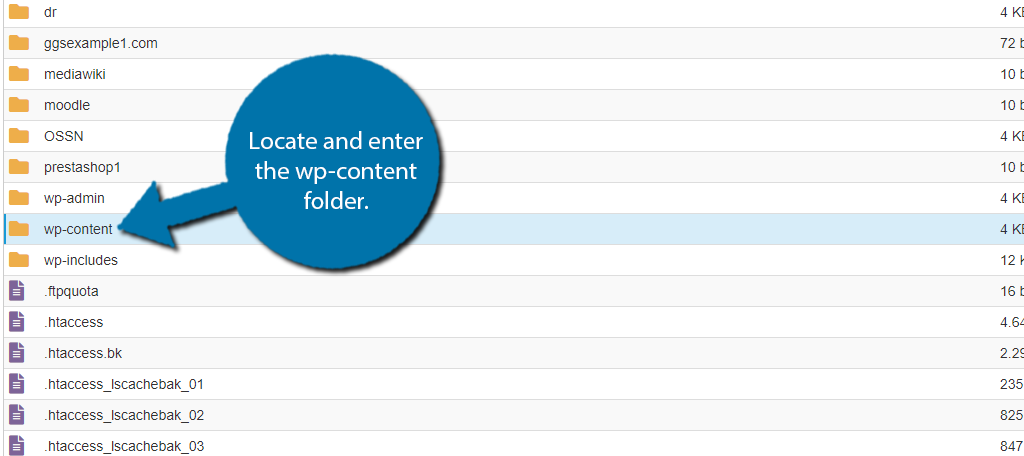
Now, you will be in the directory that contains all of the files related to your WordPress install. Locate and select the wp-content folder.
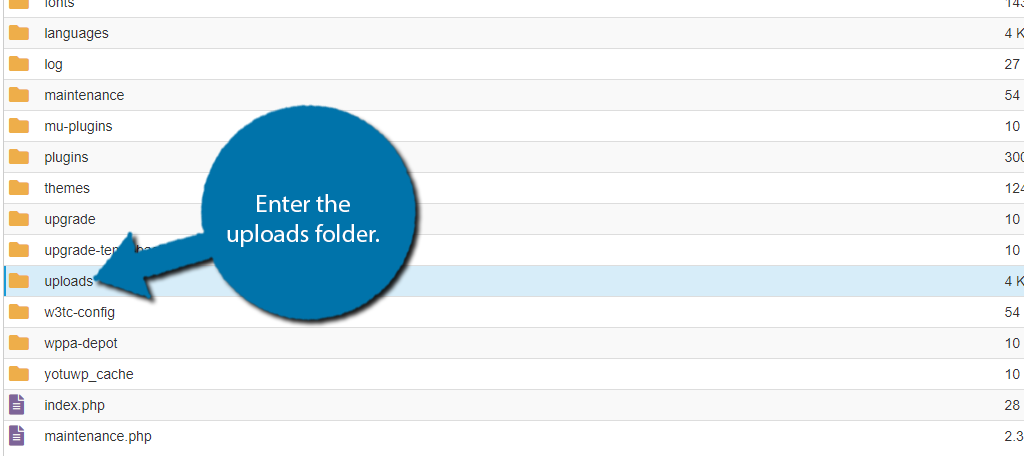
Now select the uploads folder.
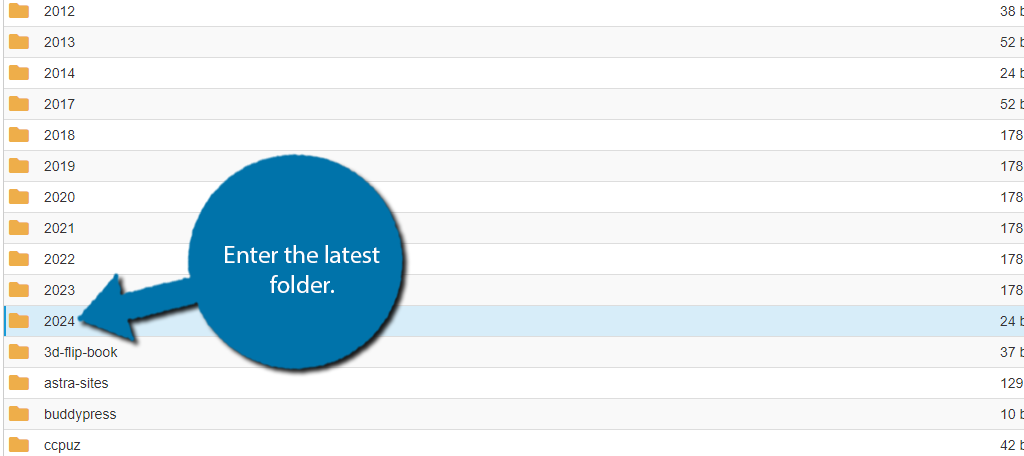
You’ll now see several folders, depending on how old your site is, with years as names. Simply click on the latest folder to see the images from this year. In my case, that is 2024.
Note: You can click on any folder regardless of how old it is.
Within a year folder, you will see a folder for each month. If it is the start of a new year, you will only see folders created for each month that has gone by. For example, if it is January, you would only see the 01 folder.
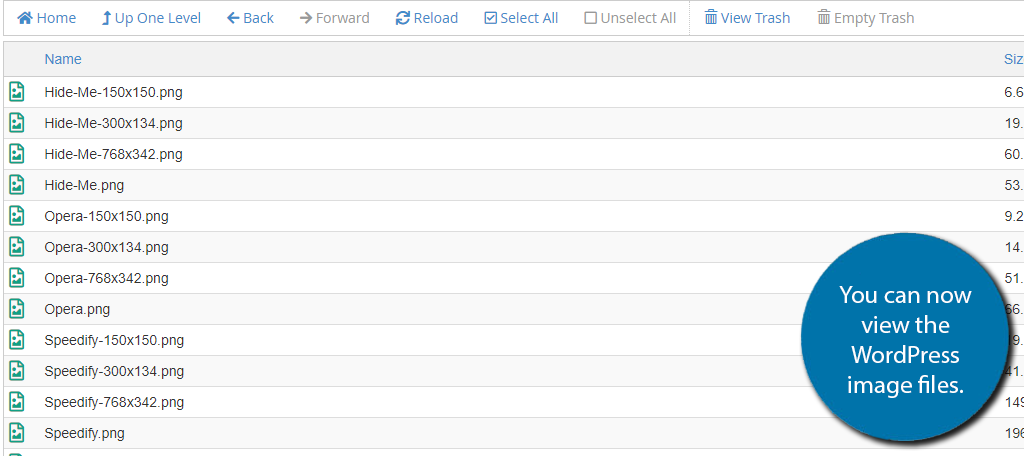
If it was December, you would see the 01 through the 12 folders. Clicking on any of these will allow you to see the individual image files in WordPress. You can also upload files directly to them regardless of the date.
And that’s it. This is the most common way to access these files, but you may need to use an alternative option if something goes awry.
Method 2: FTP Applications
The next most common method would be to use an FTP, or File Transfer Protocol. These are applications that you can set up that connect directly to your WordPress directory. From there you can upload, download, move, edit files, and more.
In fact, it has advantages over using the cPanel. For example, in the cPanel, you can only upload a single file at a time. Thus, if you had a lot of images to upload, you would have to spend the time to upload each one.
With an FTP, that is not a restriction. You could upload all of the image files in one go.
Now using an FTP depends entirely on the FTP you choose. There are several great FTP clients to consider using, but my recommendation would be to use FileZilla. It is free, easy to use, and there are a lot of resources available for it.
If you are interested in using FileZilla, check out our guide to learn everything you’ll need to know, but some of the highlights include:
- No restriction on the number of files uploaded
- Allows you to download website files to your computer
- Allows you to connect your computer to multiple web servers
- Move files between multiple servers
- Access your website backend if you were locked out of the cPanel
- No size limit on uploading files
Method 3: Media Library
I said earlier, technically speaking, images are not stored in the “Media Library.” This is just how to access and manage them in WordPress. That said, since you can access the images, it’s worth going over the library function in WordPress.
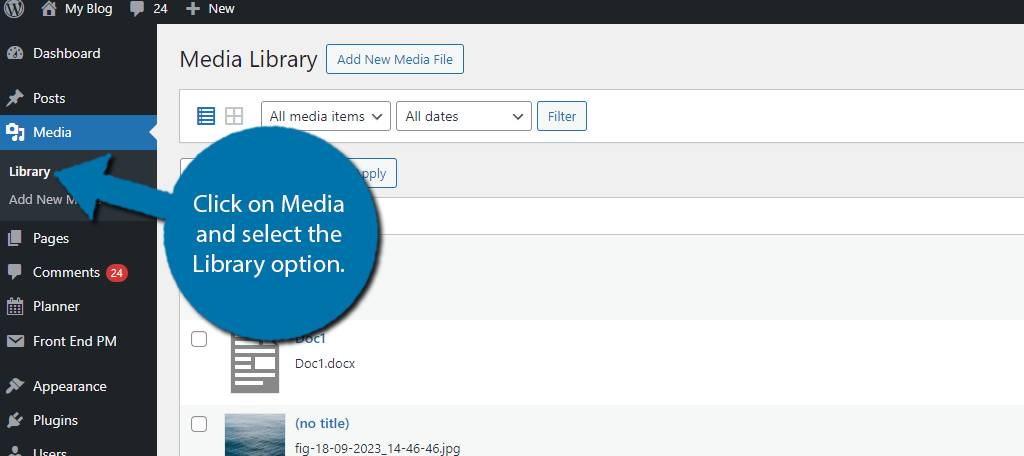
To access the Media Library, click on Media and select the Library option.
Here, you can see a full list of all of the images added to your WordPress website. The images are sorted with the newest at the top. There are other filtering options, including the ability to search for images by name.
It’s really standard stuff. The key features include:
- Uploading images to WordPress
- Deleting images
- Resizing images
- Downloading images
- Viewing Images
You can even edit the way the image appears on the fly. However, the editing feature in WordPress is quite limited compared to stand-alone graphics apps.
There are a lot of powerful features that I am sure you have probably used.
Organizing The Media Library
Unfortunately, one of the biggest criticisms of the Media Library in WordPress is that while filtering options exist, it is still a nightmare for larger websites to find what they are looking for.
Larger websites can have hundreds, or even thousands of images added in a single month. As such, if you happen to need to find a specific one and don’t know its exact file name, well, you are in for a fun game of finding the needle in the haystack.
Like most things in WordPress, there are several plugins that can help you accomplish this. Once such is FileBird.
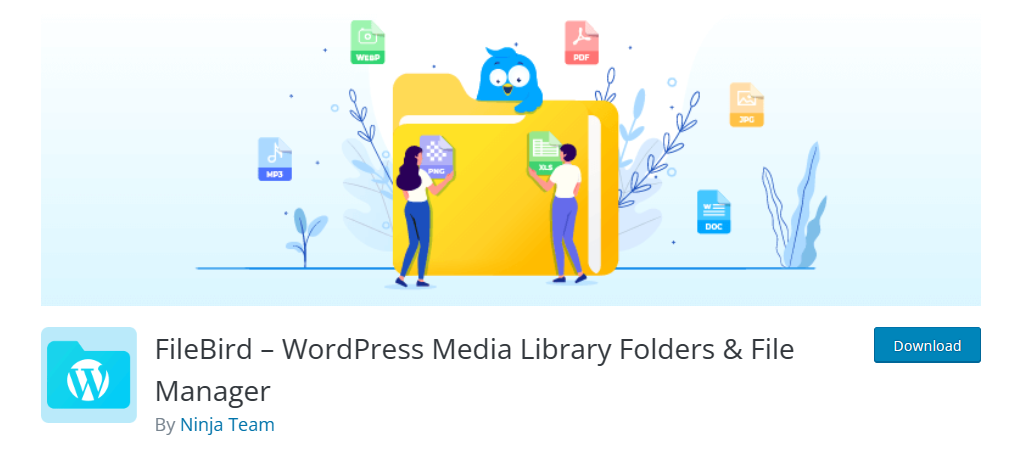
This plugin adds a folder system within the media library, which allows you to organize your media the way you want. This is useful for any type of website, and worth installing as soon as you set up WordPress.
For example, let’s say you run an online shop that sells clothes. You can create specific folders for types of clothing like shirts, pants, shoes, and so on. You can go even further by creating multiple subfolders for each brand or type within the specific category.
The same can be applied to blogs. You can create a folder for every post. That way you can quickly identify what images belong to what posts from within the Media Library. This also makes it easy to delete files you are no longer using.
Thus, it can help you save a lot of space on your server. One thing to note is that this does not change where your files are stored on the server. Everything in Method 1 would be the same even with this plugin installed.
Other Options to Consider
FileBird is just one way to organize your media library. There are so many strategies in WordPress to handle this and tools that can make it easier. Let’s take a look at a few of them.
Gallery Plugins
Over the years, WordPress has built up an impressive number of gallery plugins. The default image display that WordPress offers can leave a lot to be desired. Especially if your website is focused on images. In these situations, installing a gallery plugin can help.
In most cases, they allow you to fully customize how you display images on your website and typically add other useful features. More importantly, they typically include sorting options to help you find the images in your album.
For example, some gallery plugins will store all of your media and assign them to albums you create. This operates independently from the content editor of WordPress.
Although the images can still be accessed like normal, the plugin can keep them organized in its own tool within the dashboard. What tools are available to you are determined by the gallery plugin you install.
Image Tagging
Similarly to how to can tag posts and pages in WordPress, you can add the ability to add tags to images. This allows you to search through your media library by using the tag as the filter.
This is not a default option in WordPress, thus, you will need a plugin, of which there are several. In fact, the gallery plugins I mentioned earlier typically include such a feature.
Again, this is just an additional filtering option, but it can really help when your site has a lot of images.
Master Images in WordPress
Images are critical to running a successful website regardless of what kind of website it is. They have a place in every type of content, and image quality can make or break a website. As such, learning how to manage images in WordPress is crucial.
Luckily, it is not that hard to manage the images themselves. The options all consist of standard things like upload, download, delete, and so on. It is standard stuff that anyone who has used a computer would know how to do.
I hope you found this tutorial helpful in learning how to find where your WordPress images are located.
Do you prefer using the cPanel or an FTP? Did you install FileBird?
Thank you so much for your help!
I’ve been spending the last 5 days deleting and cleaning this up.
I have a question: under my site in File Manager I see images/bak/file numbers
they are filled with –I don’t know what–It’s a JPEG. Yet I just deleted a bunch of files/photos
from your above instructions.
Help, please.
cool insight