
Do you need to build a custom registration form for WordPress? It’s important that customization forms are informative, easy to fill out, and support mobile devices. Luckily, this can all be achieved with the RegistrationMagic plugin.
To put it simply, this plugin allows you to build registration forms the way you want without any limitations. And the best part, most of the features are available for free, with more available in the premium version.
Today, I will demonstrate how to build a stylish WordPress registration form with ease.
What Is A WordPress Registration Form?
A registration form in WordPress allows users to input data and submit it to a website or company. The registration form can be for virtually any purpose with one of the most common uses being for account creation.
It is normal for one website to sometimes have over 10 registration forms that are for specific purposes. Larger companies can easily have over 100 if they offer a lot of services with unique forms.
For instance, here are a few things you might have a registration form for:
- Job Application (Different Forms for Different Jobs)
- Registration Forms for Services/Subscriptions
- Registering for Two-Factor Authinication
The good news is none of this is hard to implement. Building a custom WordPress registration form with RegistrationMagic takes minutes.
How to Build A WordPress Registration Form with RegistrationMagic
Step 1: Install RegistrationMagic
The RegistrationMagic plugin is easy to use and extremely comprehensive. You can build any kind of form with it including forms that you can even accept payments through the forms you build, which is great for membership sites.
You can even create different forms for different user roles, WooCommerce, and much more. Let’s begin.
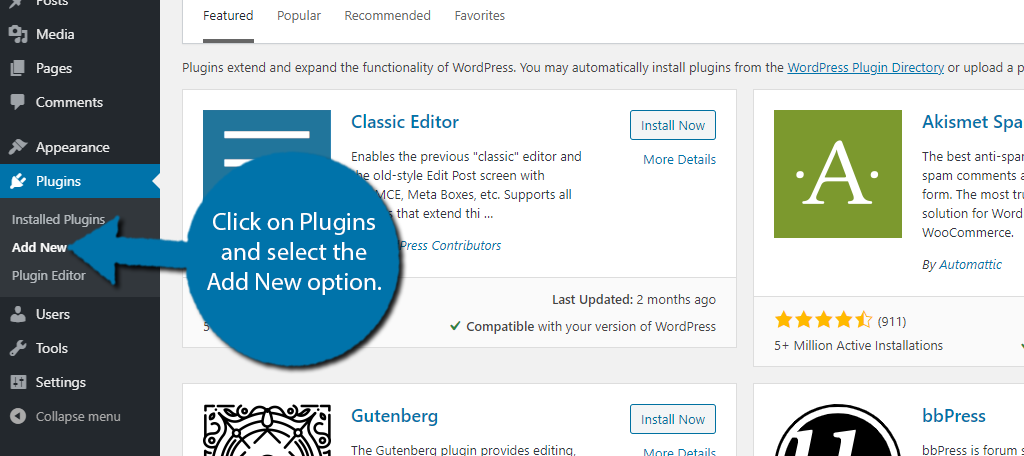
Click on Plugins and select the Add New option on the left-hand admin panel.
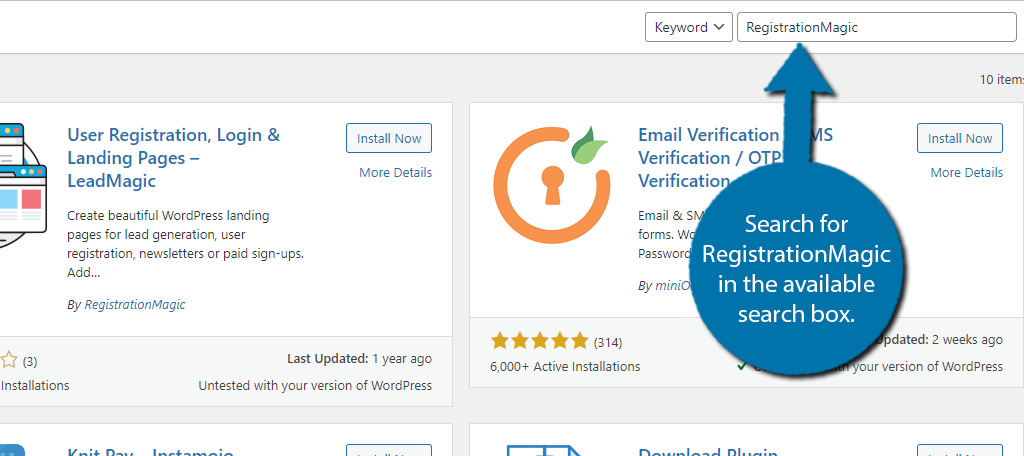
Search for RegistrationMagic in the available search box. This will pull up additional plugins that you may find helpful.
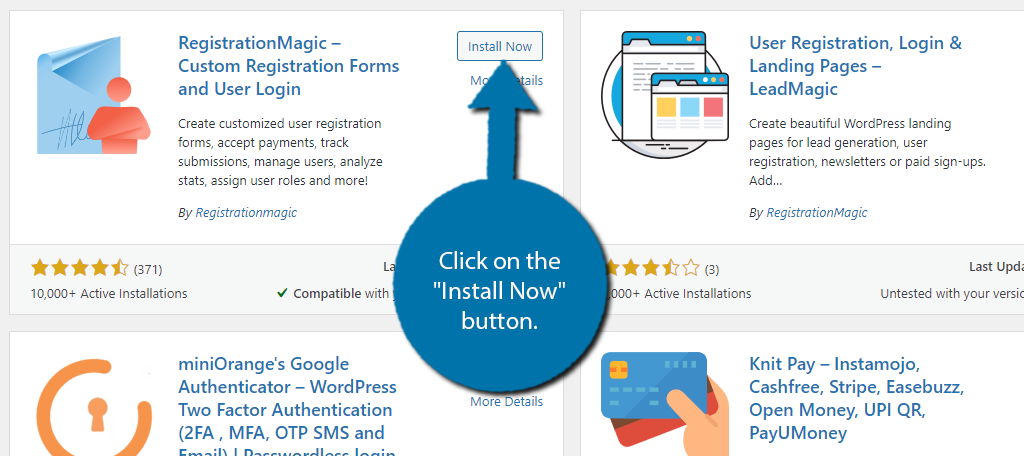
Scroll down until you find the RegistrationMagic plugin and click on the “Install Now” button and activate the plugin for use.
Note: There is also a User Registration plugin by RegistrationMagic. This plugin has not been updated in some time, so be sure to avoid it.
Step 2: Global Settings
While you could immediately begin creating forms, I always recommend going through the settings first. The global settings for this plugin are vast, so I will try to give a quick overview of what you can expect for the more popular settings.
Note: Some of the features require the Premium version to access.
On the left-hand admin panel click on RegistrationMagic and select the Global Settings option.
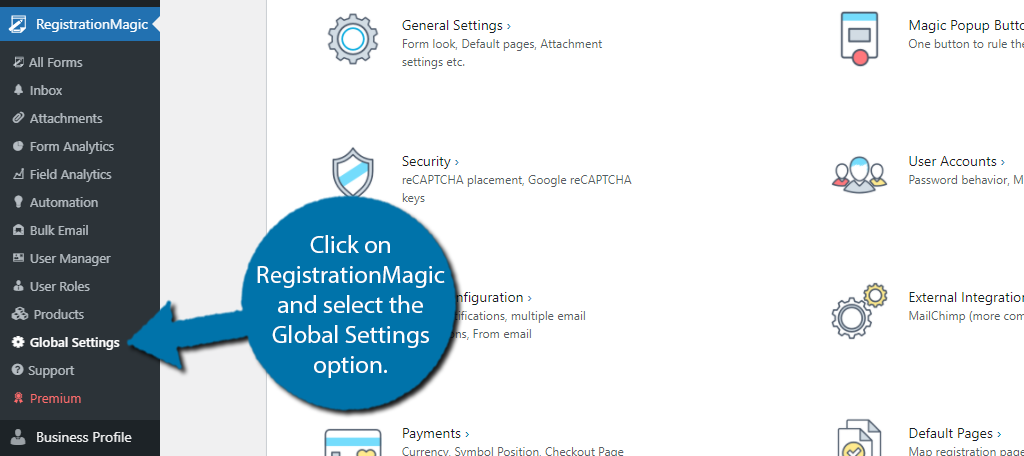
There are twelve unique sections to go through, which would take us far too long to cover in their entirety. Let’s take a look at the popular ones.
Click on the General Settings Section.
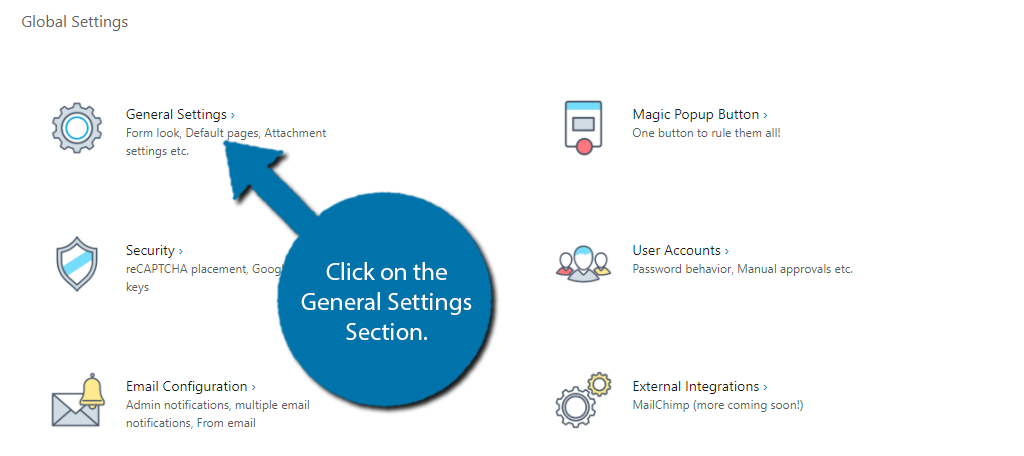
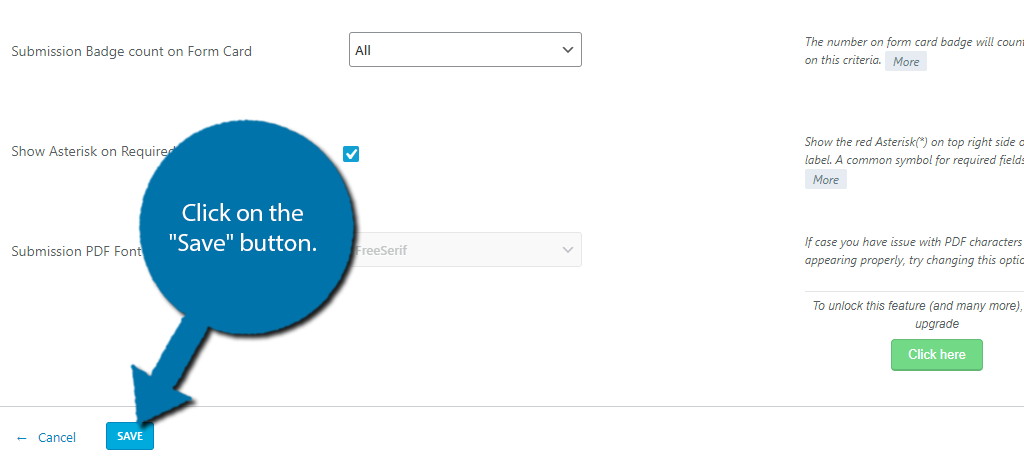
Here, you can select if you want the form to match your theme’s design (recommended), or use the classic appearance. You can also select the layout of the form, allowed file types, and many other minor settings.
Choose the best options for your website and click on the “Save” button.
Click on the Security section.
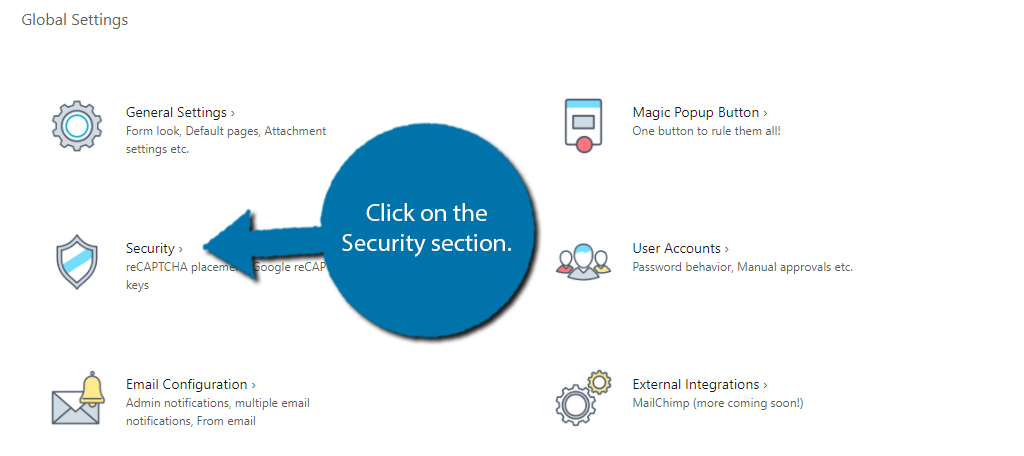
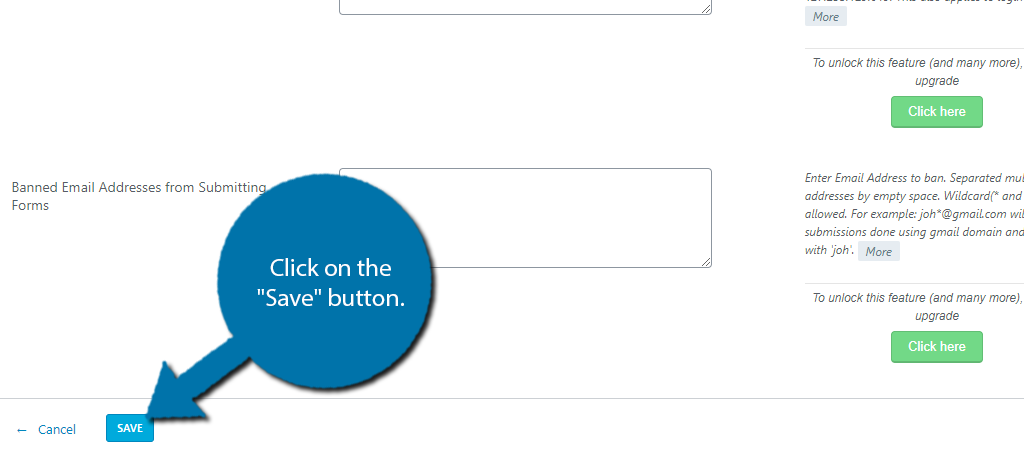
In this section, you can set up reCAPTCHA on your forms to stop spam bots from submitting them. You can also limit the number of forms that are submitted from a single device, enable password rules (like one letter must be capital or it must include a number), and more.
Click on the “Save” button when you are done.
I strongly recommend going through each section. The plugin does an excellent job of explaining what each setting does, so there’s nothing overly difficult and you can change them at any time.
Step 3: Add A New Registration Form
With the settings in place, it’s time to get building.
Click on RegistrationMagic and select the All Forms option.
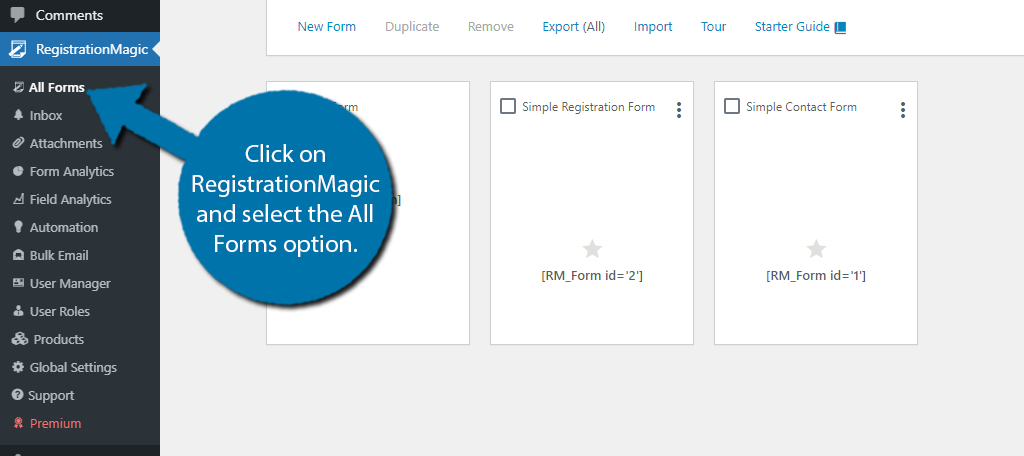
There are three default forms. They include a login, simple login, and a simple contact form. Each one has a shortcode, so feel free to see what they look like. You could actually use them as a template if you like.
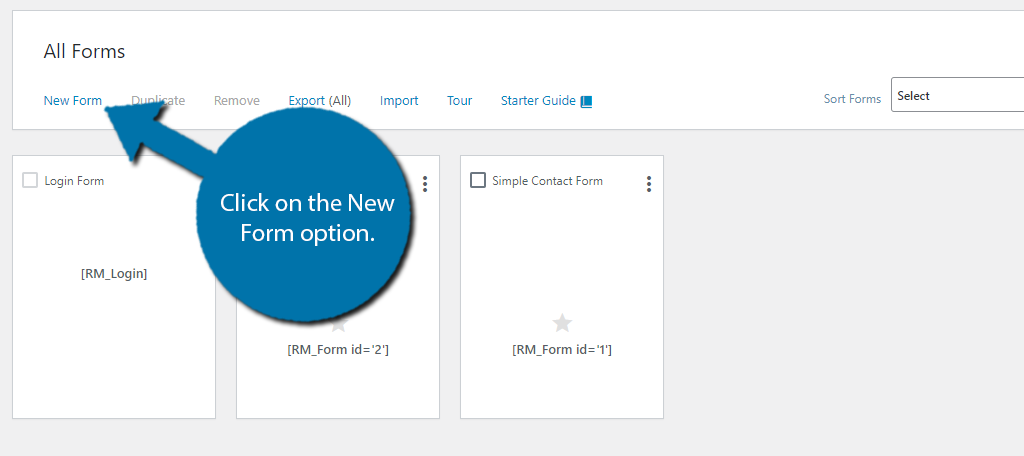
Click on the New Form option.
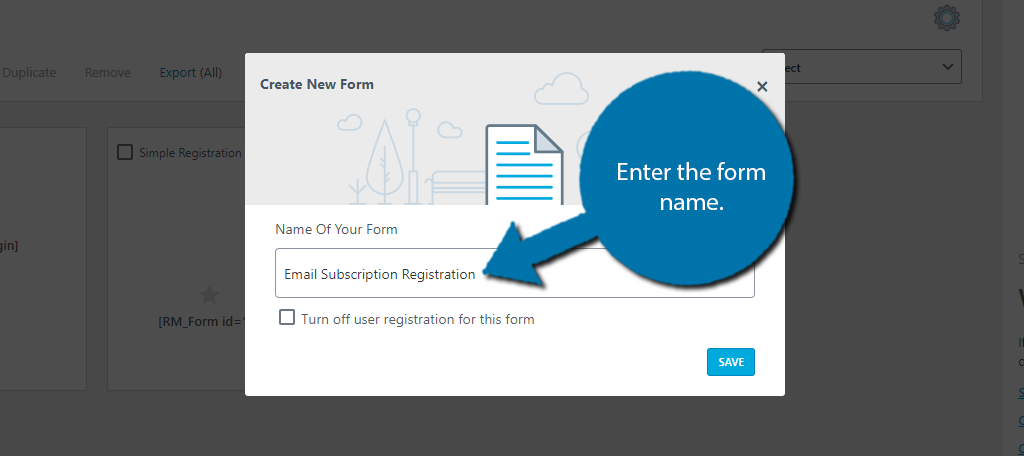
A small pop-up will appear asking you to enter the name of your form. I recommend making it descriptive as it can be hard to figure out what’s what with a poor naming convention.
You can also use the checkbox below to turn off user registration within this form.
Click on the “Save” button to proceed.
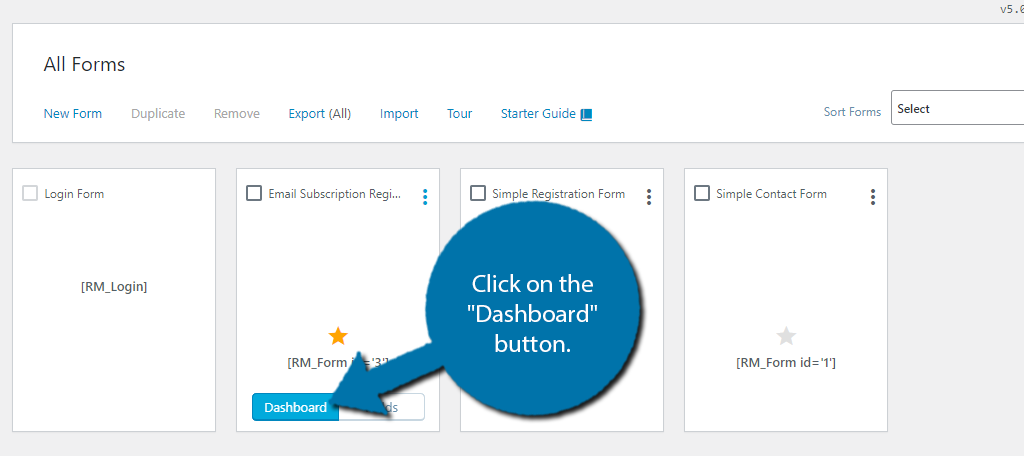
The new form you created will be added to the list. If you hover your mouse over it, you will have two options. To go to the form dashboard or to edit the fields, click on the “Dashboard” button.
Step 4: Customize the Form
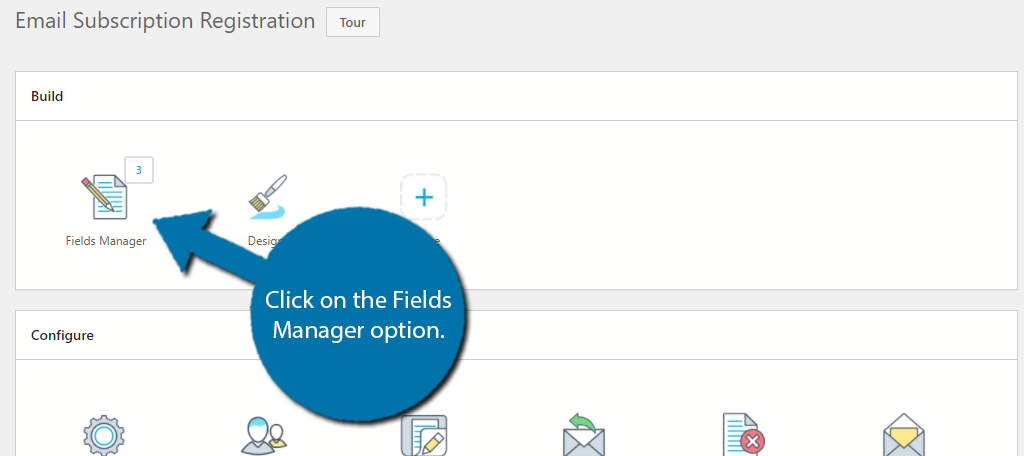
Here, you can find all of the settings for the form. These include options for building, configuration, integration, analytics, and more. In the Build section, click on the Fields Manager option.
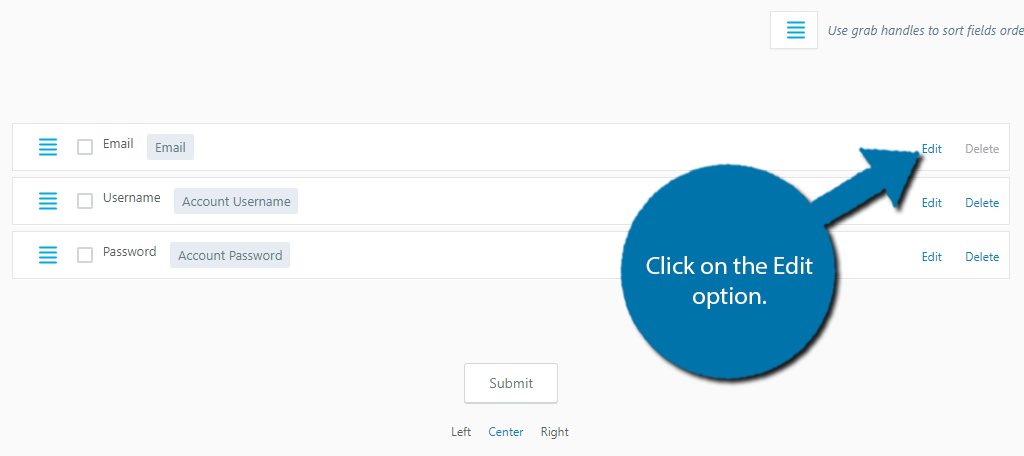
You will see all of the fields in your form and by default, there should be three: Email, Username, and Password. You can rearrange them by placing your mouse over the three blue horizontal lines and dragging them up or down with the ones at the top appearing first.
At the bottom, you will notice a “Submit” button. This button actually isn’t clickable in this section. Instead, it is there to let you decide where its location will be in the form (left, middle, or right).
Pick the option that’s best for you.
You can also click on the Edit option next to them to edit the field.
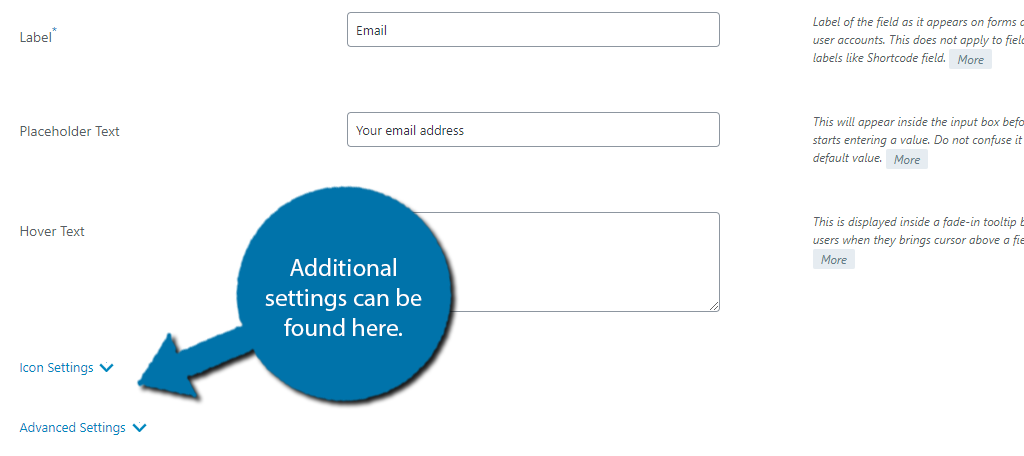
Here, you can enter the label name, placeholder text, and even add hover text for additional information. There are also icon settings and advanced setting sections.
Some fields may have more options, but for the most part, all of them will look very similar to this.
You can add a new field by clicking on the Add Field option at the top.
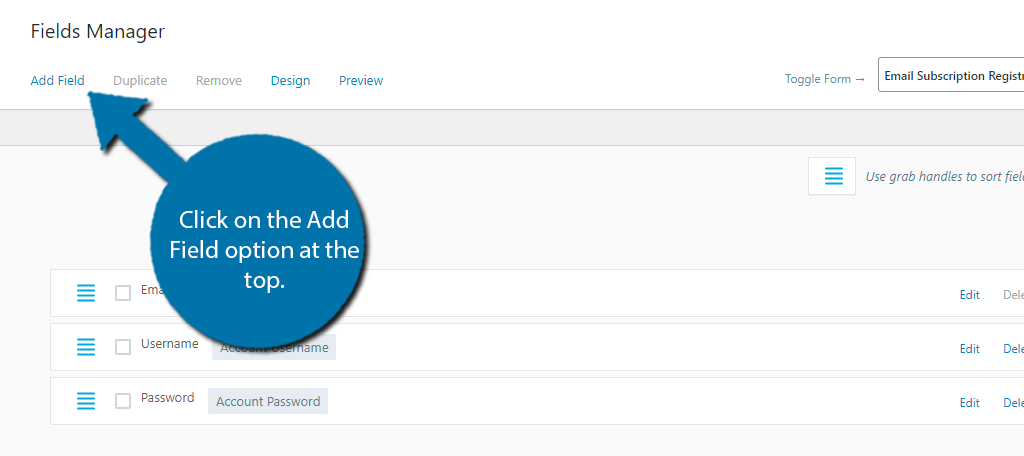
A pop-up will appear with all of the preset field items, which there are a lot. Simply click on the field you want to add.
Note: You need to have WooCommerce installed to access the WooCommerce fields.

The field will be blank and ready for you to enter the information into. Simply repeat this to add the necessary fields to the form.
At this point, you can begin going through the other sections in the form dashboard.
Step 5: Display the Form
With the form ready to go, all that’s left is to display it and the plugin gives you a few options to choose from.
The first is the more traditional shortcode option. This is great if you were planning to build a custom WordPress registration page with RegistrationMagic.
The form could be the only piece of content on the page. The shortcode can either be found in the form section or by clicking on the Shortcode option in the Publish section of the dashboard.
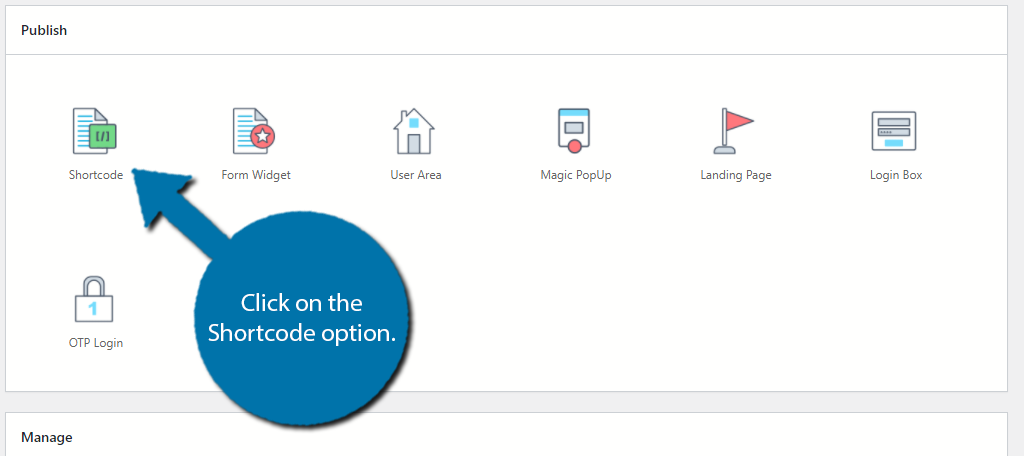
Copy the shortcode and add it to a Shortcode block in the desired post or page. Save the changes and you can view the form on your website.
Another popular option to consider is to use the RegistrationMagic form widget. This will allow you to display it in the widget area on your website. To do this, click on the Form Widget option in the Publish section.
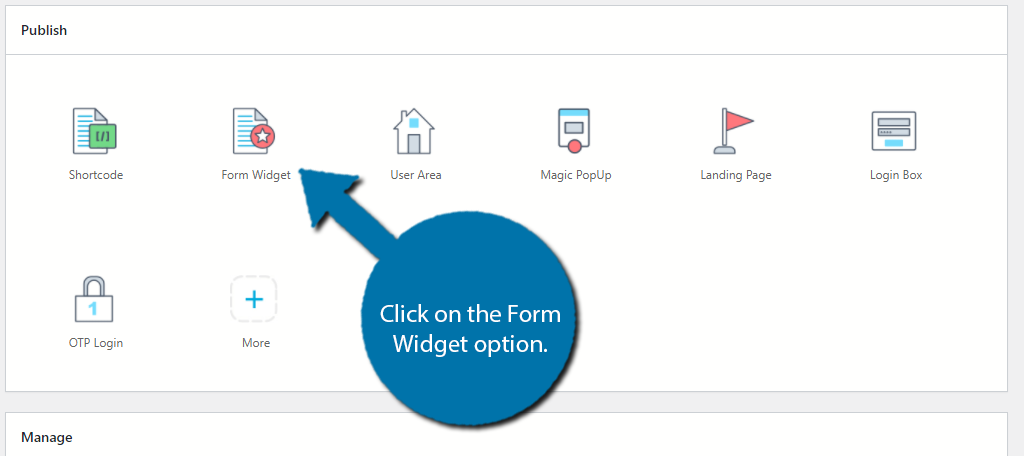
You can also find these widgets in the widget area of your website.
Congratulations on setting up the RegistrationMagic in WordPress.
Make Your Forms Informative
I cannot stress enough how important it is to be clear on what each field on a form represents. Take full advantage of the hover text to provide helpful explanations, suggestions, and examples to visitors.
The harder a form is to fill out, the less likely someone is to complete it.
How many forms did you add to your website? How would you rate the RegistrationMagic plugin?