Most people today like to receive their mail on their phones and computers. This prevents them from having to sign in directly to webmail. Setting up GreenGeeks email on your iPhone is not a difficult process, you simply need to have access to the steps involved.
Once you set up your GreenGeeks email, you can then get it up and running on your Apple iPhone. Remember, it is important you actually set up an email account in cPanel first, then follow the steps below to add email to your iPhone.
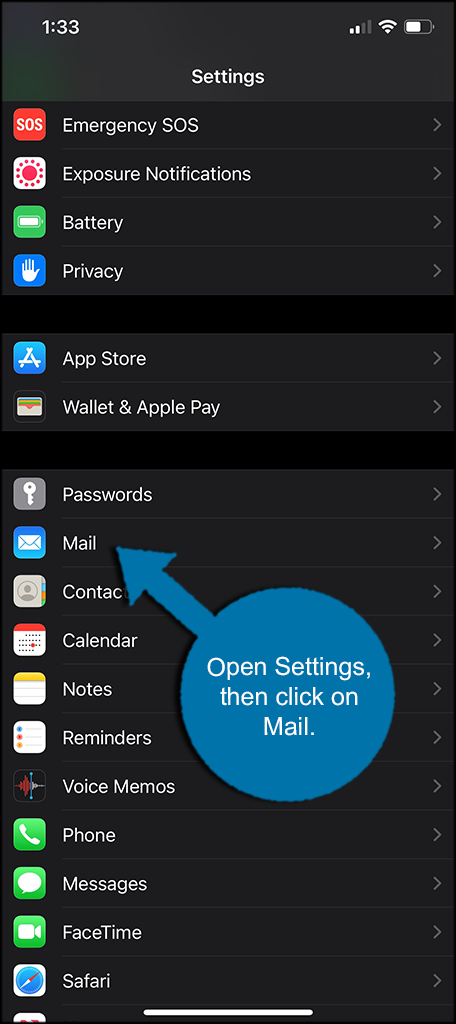
Step 1: Open Settings and Go to Mail
Open the Settings function on your iPhone and scroll down until you see the mail tab and click on it.
Step 2: Click on Accounts
In the Mail section, click on the “Accounts” tab.

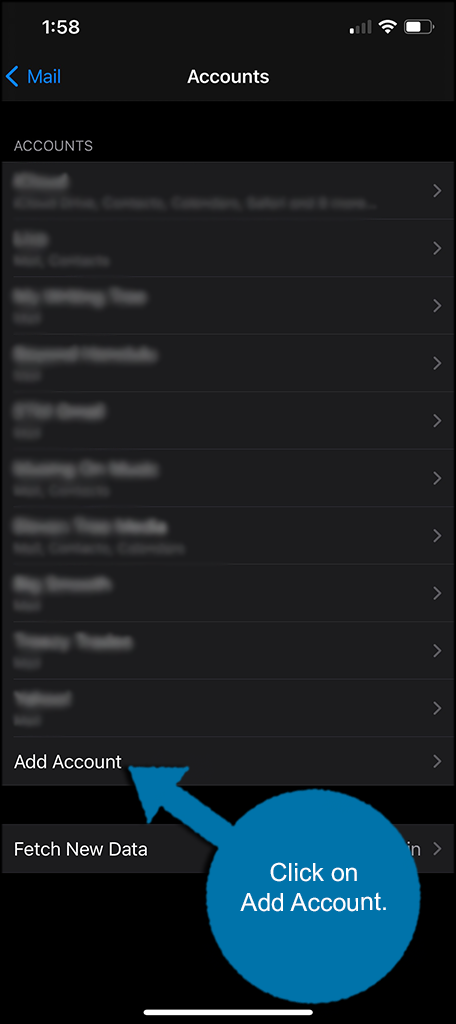
Step 3: Click on Add Account
Scroll to the bottom of your account section and click on the “Add Account” tab.
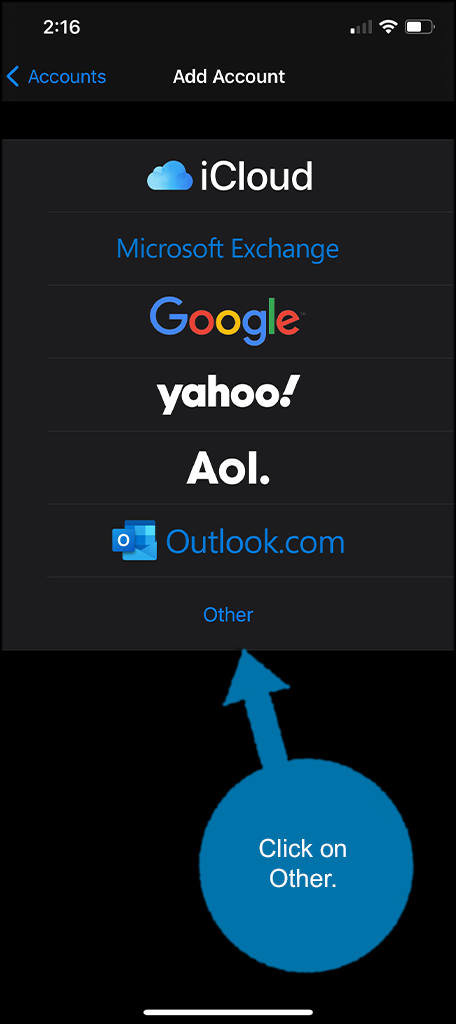
Step 4: Select Mail Type
From this page, you are given a list of mail types. Click on the “Other” option.
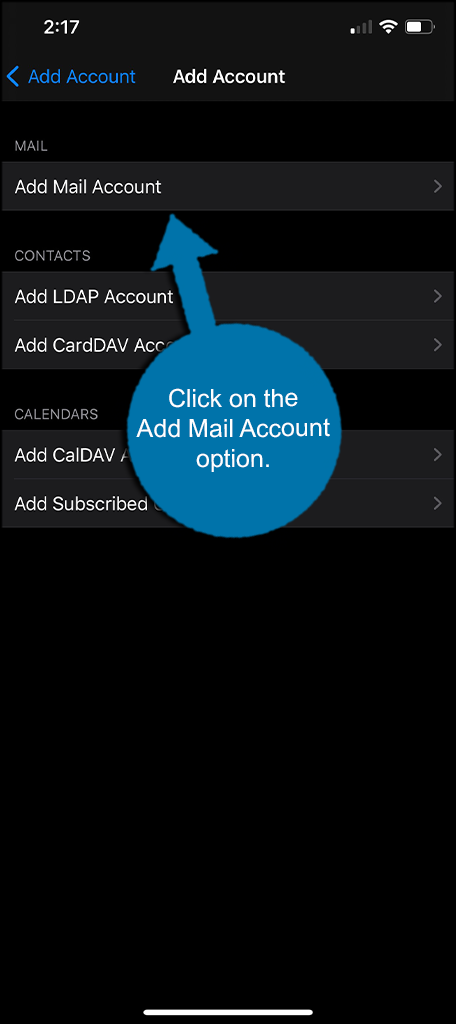
Step 5: Click on the Add Mail Account Option
There will be several account options available from here. Simply click on the “Add mail Account” option.
Step 6: Fill in New Account Information
Go ahead and fill in all the new account information that is relevant to the account. When you are finished, the “Next” button on the top right will turn blue and you can click it.

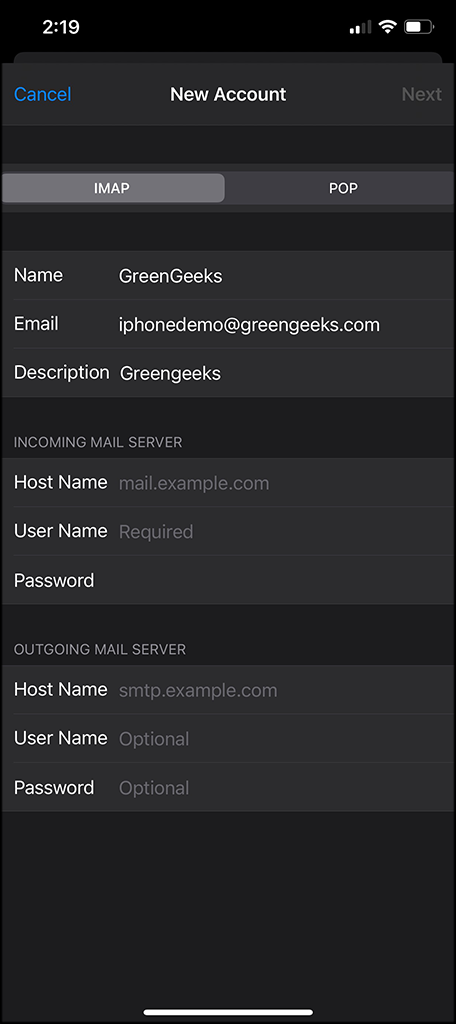
Step 7: Fill Out Server Settings Info
The final step involves you picking whether you want the account to be IMAP or POP, and then filling out all the server settings for the account. You will need to have the following information:
- Username: Which is often your email address depending on your web host provider.
- Password: Obviously the password for the account you wish to access.
- Account Type: Choose which you want to use, POP3 or IMAP. This will be dependent on the type of mailing protocol you want to use.
- Incoming Mail Server: This is the server name of your inbound email. Often, it will look something like “mail.yourdomainname.com.”
- Outgoing Mail Server: This server is more than likely going to be the same as your incoming mail.
Note: If you are unsure of any of the server info, please Contact Us and we can give it to you.
When you fill these settings in, click on the blue “Next” button again to finish the process.
That’s it! At this point, your new GreenGeeks email account should be up and running on your Apple iPhone.